Home/Flooring & Interior Updates/Interior Trim Installation
Go2you Construction LLC
Interior trim installation in Clarksville, TN
Plan the details at every edge
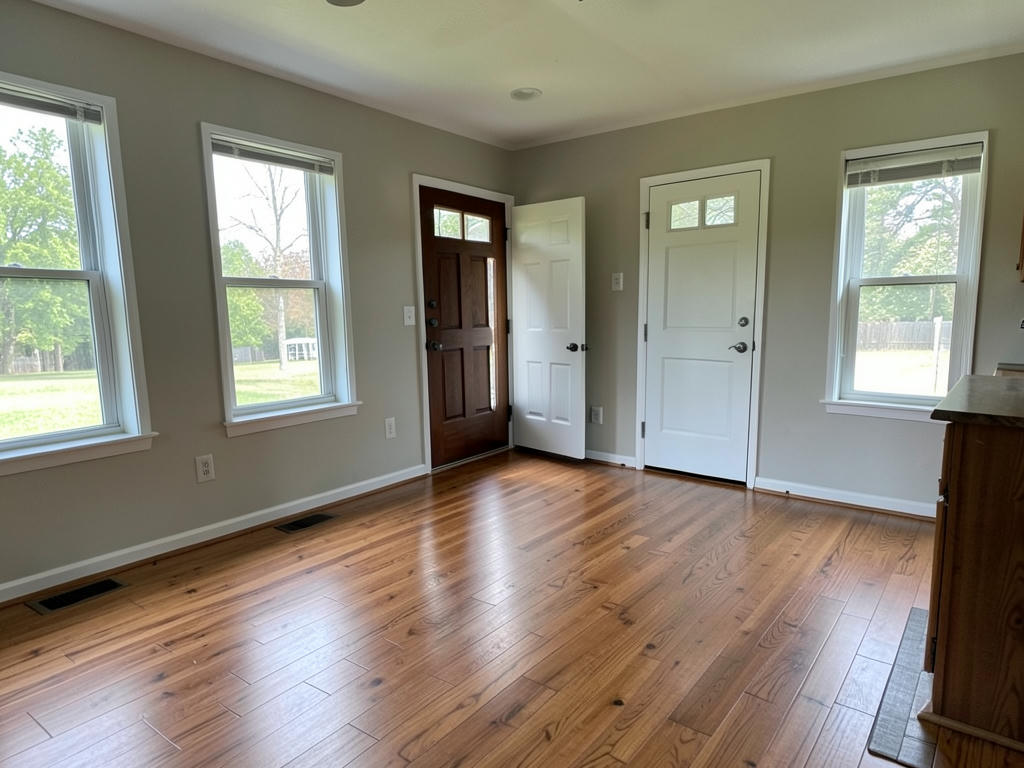
Interior trim installation in Clarksville, TN gives your rooms defined edges around doors, windows, walls, and floors. We help you think through profiles, materials, existing conditions, and related updates so your trim choices fit the space and the work ahead.
Interior trim installation in Clarksville: planning the scope
A trim project starts by identifying every edge you want to change and deciding which existing pieces should stay. A single doorway can need a different approach from a room with several windows and connected hallways. We encourage you to point out split casing, uneven joints, missing pieces, and profiles that no longer match. Photographs help explain the appearance you want, but measurements and the condition of the surrounding surfaces determine how the pieces can fit. Include closets and both sides of doorways when you describe the scope.
Replacing trim can correct damaged edges and inconsistent details, but it cannot straighten a leaning wall or repair a sticking door by itself. Those conditions need separate attention before the final fitting. If the project is part of broader flooring and interior updates, establish the order of work before selecting dimensions. New floor thickness, repaired drywall, and replacement doors can all change where trim sits. We can discuss those connections with you so the project description distinguishes trim installation from any surrounding repairs or additional finish work.
Which interior trim material and profile should you choose?
The right trim material depends on the finish, location, and shape of the detail. Solid wood can suit stained work because its grain remains visible, although species and board selection affect the final appearance. Finger-jointed wood is commonly used for painted trim. MDF offers a smooth painted surface and consistent profiles, but standard MDF is vulnerable to moisture, especially at exposed cuts. Some moisture-resistant or synthetic products suit damp locations better. Product suitability still matters; decorative trim is not a substitute for correcting leaks or persistent moisture.
Profile size should relate to the room and the adjoining details rather than being chosen in isolation. A wide casing may crowd a nearby wall corner, switch plate, or cabinet, while a narrow profile may leave an old paint line exposed. Ask to compare actual samples against the wall and existing trim. For partial replacements, matching means checking thickness and shape as well as width. An older profile may not have an exact stock equivalent, so discuss whether a close match or replacement across the entire opening makes more sense.
How is interior trim measured, cut, and installed?
Accurate fitting begins with the opening and surrounding surfaces, not just the length of the old board. Door and window casing needs a consistent reveal, which is the visible strip of jamb beside the trim. Walls may bow, corners may sit outside a true right angle, and jambs may project unevenly. These differences affect cut angles and joint alignment. Where old trim is being removed, scoring painted edges first can limit tearing. Removal may still expose damaged drywall paper, old fasteners, or gaps that need attention before new pieces go on.
Installation generally proceeds through measuring, cutting, test-fitting, and fastening, with adjustments made before pieces are fully secured. Depending on the profile and location, joints may be mitered, coped, or joined with square cuts. Longer runs may require carefully positioned joints rather than a short filler piece at one end. Fasteners need suitable backing, and their placement should account for concealed utilities. Nail holes and small paint-grade gaps can then be prepared for finishing. Large gaps should prompt a fitting correction rather than simply being filled with caulk.
What affects the scope and timing of trim work?
Trim scope depends on the number of openings, profile complexity, material, and condition of the surfaces beneath it. Repeating a straightforward painted profile is different from fitting stain-grade wood around several uneven openings. Occupied rooms also require access planning and furniture protection. For interior trim installation, Clarksville homeowners should describe transitions between rooms as well as the rooms themselves. A doorway connecting old and new trim may require a deliberate stopping point. Decisions about material supply, removal, repairs, painting, and debris handling should be settled before work begins.
Measuring and layout usually take less time than repeated custom fitting, while finish preparation can create a separate stage after installation. A straightforward opening may be fitted within part of a workday, but several rooms, irregular walls, or detailed profiles can extend work across multiple days. Primer, paint, filler, and caulk also have product-specific drying requirements. If wall repairs are necessary, drywall repair and installation may need to precede the trim. Treat these as general planning factors, not a promised schedule; the actual sequence depends on the agreed work.
How should you prepare your rooms for new trim?
Clear access to each affected wall and opening before trim work starts. Move small furniture, remove nearby artwork, and take fragile belongings out of the work area. Window treatments may need to come down when casing is being replaced. Keep children and pets away from cutting and fastening areas, and discuss where materials can be stored flat and dry. If you want existing pieces saved, say so before removal; painted joints and brittle material can make intact salvage difficult. Identify any known leaks or wall damage rather than covering them with new trim.
Before approving the scope, ask who supplies materials, which pieces will be replaced, and what condition the surfaces will be left in. Confirm whether priming, painting, staining, caulking, and disposal are included rather than assuming they follow automatically. If lower wall trim is also changing, coordinate baseboard installation so profiles and transitions work together. When comparing options after searching for interior trim installation near me, describe the same rooms and finish expectations each time. At completion, review joint fit, consistent reveals, exposed fasteners, and any remaining finishing tasks.
Call (931) 220-4607 to discuss your project
Let's define the trim work your rooms need
Call • (931) 220-4607Questions
Questions about replacing interior trim in Clarksville
Can you replace trim without replacing the doors?
Yes, casing can generally be replaced while keeping the existing doors and jambs. The jambs need to be sound enough to support a suitable fit, and door operation should be checked first. If a door rubs or its frame has shifted, new casing alone will not solve that problem. We can discuss keeping the door as part of your project scope.
Should interior trim be installed before or after flooring?
The correct order depends on the trim type and the flooring assembly. Baseboards often follow flooring, while door casing may stay in place and be undercut for certain floor installations. New casing needs to account for the finished floor height. Coordinate the sequence before cutting so the bottom edges do not end up short or interfere with required flooring clearances.
Can new trim match the existing trim in my home?
New trim can sometimes match existing trim, but an exact match depends on profile availability, dimensions, material, and finish. A photograph alone rarely shows every detail needed for matching. Keep a sample if possible, including an intact cross-section. For stained wood, grain and color differences may remain visible even when the shape matches.
Does interior trim installation include painting?
Painting should be specified separately in the scope rather than assumed to be included with installation. Nail-hole filling, sanding, caulking, priming, and finish coats are distinct tasks that need an agreed sequence. Ask us which finishing steps your project covers and who handles the rest, especially if you plan to paint the walls at the same time.